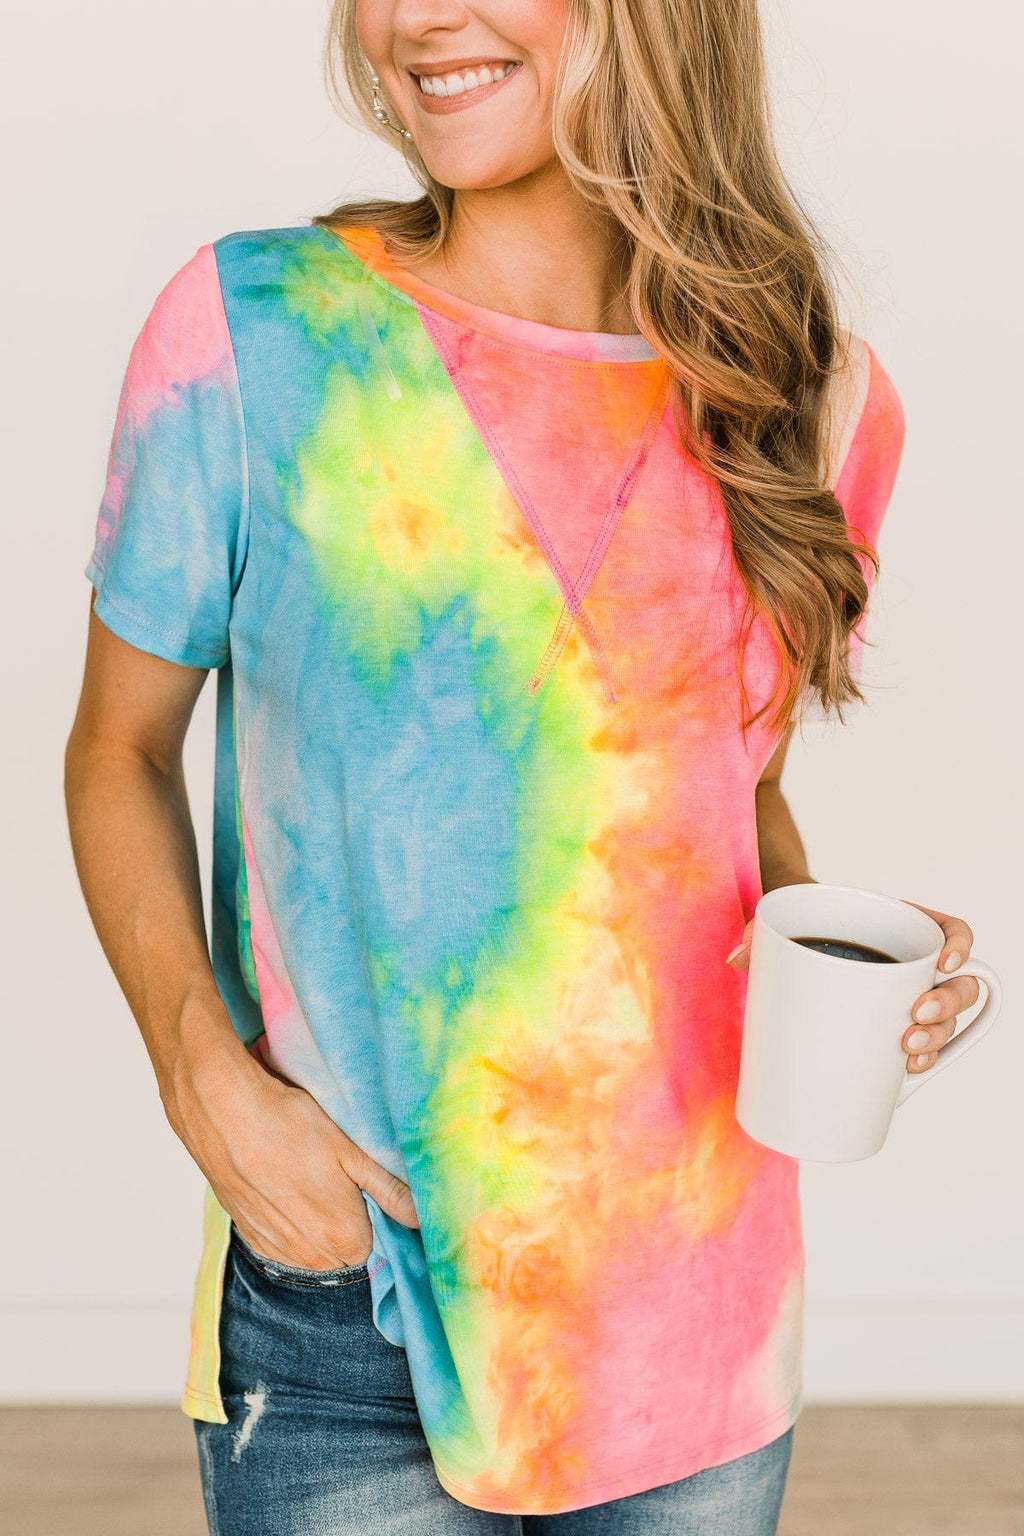
Spiral
The spiral technique creates the iconic tie-dye look with colors radiating from a center point in a beautiful swirl pattern.
Materials Needed
- White or light-colored 100% cotton garment (pre-washed)
- Fiber reactive dye (Procion MX recommended)
- Soda ash (sodium carbonate)
- Squeeze bottles for each color
- Rubber bands or sinew
- Plastic table cover or garbage bags
- Rubber gloves
- Dust mask
- Wire rack or plastic grate
- Plastic wrap
Safety Notes
- Always wear gloves when handling dye - fiber reactive dyes can cause skin irritation.
- Wear a dust mask when mixing dye powder to avoid inhaling particles.
- Work in a well-ventilated area.
- Keep dye away from eyes and mouth.
- Soda ash is alkaline - rinse skin immediately if contact occurs.
Preparation
- 1
Wash your garment without fabric softener to remove any sizing or oils.
- 2
Dissolve 1 cup of soda ash in 1 gallon of warm water to create a fixative solution.
- 3
Soak your garment in the soda ash solution for 15-20 minutes.
- 4
Gently wring out excess water - the fabric should be damp but not dripping.
- 5
Prepare your work surface by covering it with plastic.
- 6
Mix your dyes according to package instructions (typically 2-4 tablespoons dye powder per 8oz water).
Folding & Tying
- 1
Lay your damp garment flat on your work surface.
- 2
Pinch the fabric at the point where you want the center of your spiral (usually center chest).
- 3
While holding that point, use your other hand to twist the fabric in one direction.
- 4
Continue twisting, using your fingers to keep the fabric flat and spiral-shaped.
- 5
The garment should form a flat disc shape, like a cinnamon roll.
- 6
Secure the spiral with 3-4 rubber bands crossing through the center, creating pie-slice sections.
Applying the Dye
- 1
Place your spiral on a wire rack over a tray to catch drips.
- 2
Plan your color placement - each wedge section between rubber bands will be one color.
- 3
Starting with your lightest color, apply dye to one wedge section, saturating the fabric.
- 4
Flip the spiral and apply the same color to the matching section on the back.
- 5
Continue with each color, working around the spiral.
- 6
Make sure dye penetrates all layers - use the bottle tip to push dye into folds.
- 7
For cleaner color separation, leave small undyed gaps between colors.
Rinsing & Finishing
- 1
Wrap the dyed spiral in plastic wrap to keep it moist.
- 2
Let it cure for at least 24 hours at room temperature (ideally 70°F or warmer).
- 3
After curing, rinse under cold water until water runs mostly clear.
- 4
Remove rubber bands and continue rinsing, gradually increasing water temperature.
- 5
Wash alone in hot water with a small amount of textile detergent.
- 6
Dry in dryer or air dry.
"The tighter you twist your spiral, the more defined your color sections will be. For a looser, more organic look, keep your twist relaxed. And remember - imperfections are what make tie-dye beautiful!"
— Phillipa Imani